
Key takeaways
- Calculate the advance once from the total project value.
- Distribute the remaining balance across stages without deducting the advance twice.
- Payment evidence and verified receipt represent different states.
Enter the total project value first, calculate the advance from that total, and distribute the remaining amount across stages. That produces a payment plan a client can follow without repeatedly interpreting credits on every stage. The arithmetic should remain visible before work begins.
This article explains the operational model used by Stageflow's current project setup. Its amounts are fictional examples for understanding the screen, not pricing recommendations or accounting advice. Commercial terms should already be agreed before an administrator publishes the plan.
Establish one total before choosing a percentage
Begin with a single agreed project amount in the selected currency. Avoid using a mixture of estimated task values, a separate proposal figure and a payment schedule that adds up to something else. The purpose of the total field is to anchor the plan consistently.
Record what that amount covers in the project scope. An amount without a scope description leaves the client unable to tell whether deployment, training or later maintenance is included. Discuss those boundaries before adjusting the payment percentages to make an unclear proposal appear complete.
Choose the advance deliberately
Stageflow offers percentage presets and a custom percentage input. A preset makes entry quicker; it does not make that percentage appropriate for every engagement. Use the agreed percentage, and check the calculated amount before distributing the balance or publishing the project.
The advance is an upfront part of the total, not an extra fee added above it. If the interface shows a total of 120,000 and an advance of 24,000, the amount remaining across stages is 96,000. The two components should reconcile to the original total.
Work through a six-stage example
Consider a fictional project valued at INR 120,000 with a 20 percent advance. The advance is INR 24,000. Subtract it once to obtain INR 96,000. An equal allocation across six stages gives a stage payment of INR 16,000 for each stage.
The client therefore sees an advance plus six later payments. The combined amount remains INR 120,000. It would be incorrect to charge six additional payments of INR 20,000 after collecting the advance, because that would exceed the project total in this illustration.
It would also be incorrect to reduce each INR 16,000 payment by another 20 percent. Those stage values already represent the balance after the advance. Double deduction changes the total collected and makes later reconciliation difficult for both the client and the administrator.
Equal division is a starting point
Equal stage values are easy to explain, but the agreed plan may allocate different amounts to different deliverables. For example, the remaining INR 96,000 could be divided as 8,000, 12,000, 20,000, 28,000, 16,000 and 12,000. The sum still matches the remaining balance.
Different allocations should be supported by the agreed scope, not improvised when a payment becomes due. In Stageflow, changes to the total, advance percentage or number of stages reset the equal allocation in the draft form. Recheck any customized stage amounts before publishing.
Handle rounding without hidden discrepancies
A balance does not always divide evenly into the chosen number of stages. For example, INR 10,000 divided among three stages cannot be represented as three identical two-decimal amounts that add up exactly. One stage needs to carry the small rounding difference.
Stageflow calculates using integer minor units and assigns the equal-division remainder to the final stage. A reader does not need to understand the internal calculation to use the form, but should inspect the resulting totals. Displayed stage amounts must reconcile exactly with the remaining balance.
Avoid manually rounding every stage to a convenient whole number without revisiting the total. Small discrepancies are easy to miss when a plan is drafted and harder to explain when the final invoice arrives. Resolve them while the project remains editable.
Separate advance submission from confirmation
A client submitting a transfer reference is reporting a payment, not proving that the administrator has received it. Stageflow keeps submitted evidence separate from verification. The administrator reviews the actual receipt information before confirming that the advance has been paid.
Once the advance is verified in the approval-first workflow, the first stage becomes ready for work. The administrator can start it and submit the deliverable when ready. The advance does not automatically approve the work or settle all later stages.
Keep the next payment tied to approval
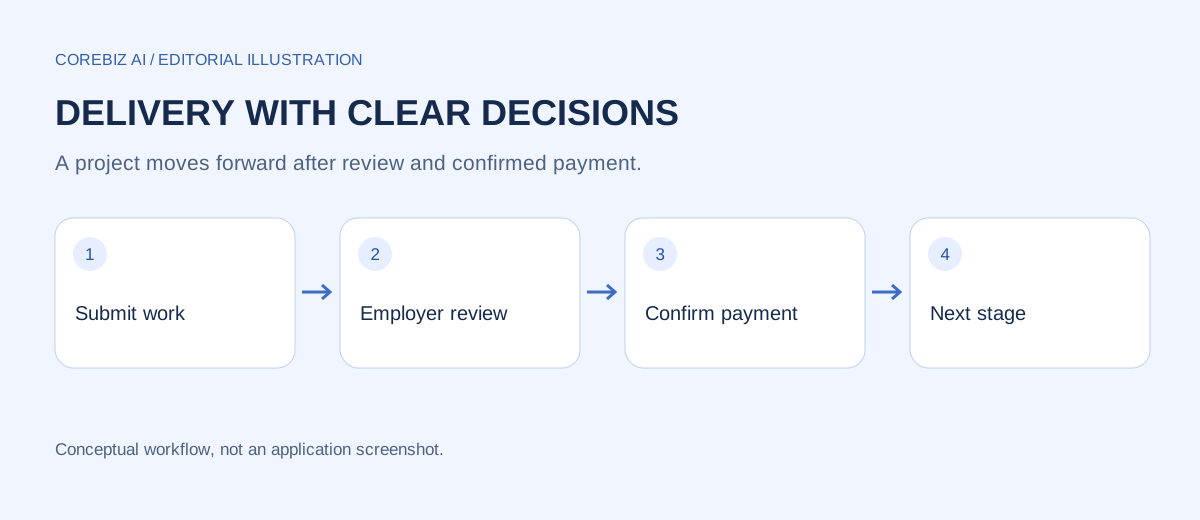
After the client reviews and approves a stage delivery, that stage's payment becomes available. A submitted stage payment still awaits verification. Confirmation completes the stage and makes the next stage ready, maintaining a visible distinction between delivery acceptance and received payment.
If an optional live payment integration is configured, successful settlement follows its confirmation path. Do not assume a displayed payment button proves that a provider is enabled or that a transfer succeeded. Manual evidence and configured provider settlement need their own accurate status handling.
Make the plan understandable in everyday communication
A short payment summary should state the total, the advance amount and the remaining stage balance. Avoid asking the client to reconstruct the total from several invoice screenshots. The same figures should appear in the project discussion and the agreed scope reference.
When discussing a particular stage, use its actual payable amount. Repeating the gross value and advance credit beside every stage can distract from the next action. The project-level breakdown explains how the balance was formed; the stage panel explains what remains due for that delivery.
If a submitted payment is rejected, provide a factual reason that helps the client correct the submission. A missing reference or an amount mismatch calls for a different explanation from an unconfirmed receipt. Do not mark a payment verified simply to move the workflow forward during ordinary use.
Prepare a small test before a real project
Use clearly labelled synthetic amounts when demonstrating the flow. Walk through entering the total, selecting an advance, reviewing the balance and publishing the plan. Then demonstrate the separate actions for submitting evidence and verifying receipt, using test records only.
Continue through one complete stage so the client sees why approval and payment have separate controls. A demonstration that stops immediately after the advance leaves the most important distinction unexplained. Record the intended sequence in a short onboarding note that both roles can consult later.
For testing with administrator and employer accounts, use separate browser profiles or separate normal and private sessions. Switching accounts in ordinary tabs can replace a shared login cookie. Keeping sessions separate makes it easier to understand which person is making each decision.
Frequently asked questions
Can I enter a custom advance percentage?
Yes, current Stageflow setup supports preset choices and a custom percentage. Check the calculated amount rather than relying only on the selected label. The current stage-balance model requires a positive amount to remain for stages and does not support a full 100 percent advance.
Does the advance change the delivery scope?
No. It changes the timing of payments within the agreed total. Scope and acceptance criteria still need their own description. If a different commercial arrangement also changes the deliverables, make that discussion explicit rather than expecting the percentage field to communicate it.
Should payment proof unlock the next stage immediately?
No. In the intended flow, the administrator confirms receipt or a configured live integration confirms settlement. Uploading a screenshot alone does not establish that funds arrived. The distinction keeps the project state aligned with the actual payment decision.
Conclusion
Use one total, calculate the advance once and reconcile every stage amount to the remaining balance. Explain submission, verification and delivery approval as separate actions. A readable payment plan makes the next step clear without changing the agreed value or hiding rounding differences.
Explore the project and implementation options
The Stageflow project page explains the available workspace and its access requirements. Use it to compare the process described here with the current application. The automation service page is a starting point for discussing additional workflow requirements; this article does not imply those customizations are already implemented.
Prepared with AI assistance and checked against the project source. Examples are fictional process illustrations, not customer results. GeM Flow is an independent internal workspace, not an official GeM service.
Discuss a focused implementation
Explore the service scope and share the process you want to improve.
Explore this service